11 min read
Real Estate Photography Tips for Agents
Make your listings pop and interest more buyers with these tips for real estate photography.

Written by Nancy Robbers on December 18, 2019

Listing photos are usually a buyer's first impression of a home and can determine whether it's worthy of a tour. According to the Zillow Group Consumer Housing Trends Report 2018, 79% of buyers use online resources to buy a home — and real estate listing photos are often the first thing they see when looking at homes online.
Here are 13 real estate photography tips to help make your listing photos catch the attention of buyers:
- Hire a real estate photography professional
- Purchase a camera that's within your budget
- Invest in a wide-angle lens
- Prep each room before taking real estate photos
- Keep lighting consistent
- Make use of natural light
- Use a tripod
- Adjust your camera so edges are vertical
- Take several shots at different exposures
- Edit your photos, but don't misrepresent the home
- Post the 20 best photos to your listing
- Incorporate aerial photography
- Include virtual 3D Home tours
1. Hire a real estate photography professional
If you're not confident in your abilities, consider hiring a pro. A professional real estate photographer is often the fastest and easiest way to get the best real estate images, especially when you're under stringent timelines. Use local professional photographers who have the time and expertise to take as many great-looking photos as you need.
Here are some steps to hiring a real estate photography professional:
Estimate real estate photography costs: The cost will vary depending on the photographer, the size of the home and the number of photos you require. Generally, real estate photography pricing starts around $100 and can go well into the thousands, especially if you want real estate drone photography to capture aerial images of the property.
Find a real estate photography professional in your area: Zillow's directory of real estate photographers makes it easy to find someone with the experience needed to highlight your client's property.
View their portfolio ahead of time: Make sure they have a strong portfolio and the appropriate skill set by viewing their past real estate listing photos online.
Check if they're a Zillow Certified Photographer: Every Zillow Certified Photographer is trained to capture images that drive clicks to the home's listing page — and ultimately tours of your client's property. A Zillow Certified Photographer will also be able to shoot 3D Home tours, along with any other new photography offerings from Zillow.
2. Purchase a camera that’s within your budget
Digital cameras come in all shapes, sizes and price ranges — and although you don't want to skimp on image quality, you don't need to spend thousands to properly photograph a home. Here are some real estate camera options to consider:
Digital point-and-shoot: These compact, easy-to-use cameras are popular with many agents. Consider one that shoots at least 5-megapixel images.
Smartphone: Chances are you already own a smartphone with a decent camera. Consider purchasing attachments such as a lens, stand or light for taking real estate photos with your phone.
Drone: You can use a drone to capture images of the exterior and interior. The advantage of real estate drone photography is that you can often shoot from angles that aren't possible while standing on the ground. The downside is that drones typically have a high upfront cost compared with point-and-shoot cameras and smartphones.
DSLR: If you're looking to invest in a long-term real estate camera, a DSLR may be a good choice. They'll provide the best real estate listing photos in any lighting condition, have interchangeable lenses (for a wide variety of shots) and typically allow more control over photo quality.
We found that 84% of sellers want agents who can take photos of their property and promote the listing on real estate websites, so owning a camera — and knowing how to use it — may help you convert more leads.
3. Invest in a wide-angle lens
Using a wide-angle lens for real estate photography will show more of a room than using a conventional lens, giving buyers a better sense of what they're seeing. Many wide-angle lenses are relatively inexpensive — you may be able to find a standard 24mm lens for a little over $100, which is a small price to pay to bring a whole new perspective to your real estate listing photos.
If you don't have a wide-angle lens, here are some tips for shooting real estate photos using a standard lens:
Shoot from a corner or doorway. This will help make rooms look more spacious by including as much of the room as possible in the shot.
Stand at an angle. This is a common trick for adding depth to a home, especially on exterior shots. Even if you have a wide-angle lens, don't stand directly facing a wall when you shoot.
Take lots of photos from different angles. Once you've got the pictures up on your computer, you will quickly be able to determine which angles work best and use those photos in the listing.
4. Prep each room before taking real estate photos
Even if you end up hiring a pro, it's important to make each room photo-ready before taking real estate photos. Here are our top real estate photography tips to use before you shoot.
Clean and declutter
A clean, tidy home lets buyers know that the property is well-maintained. Do your best to:
- Remove any stains on the floors and walls.
- Clear and wipe all countertops.
- Clean all mirrors and glass surfaces like windows and tables.
- Lower toilet seats.
- Put away all dish soap, sponges, paper towels and other cleaning items and toiletries.
- Take magnets off the fridge and put them in a drawer.
- Make the beds.
- Organize the garage.
- Remove window screens.
- Landscape the yard and trim plants and trees.
Consider staging
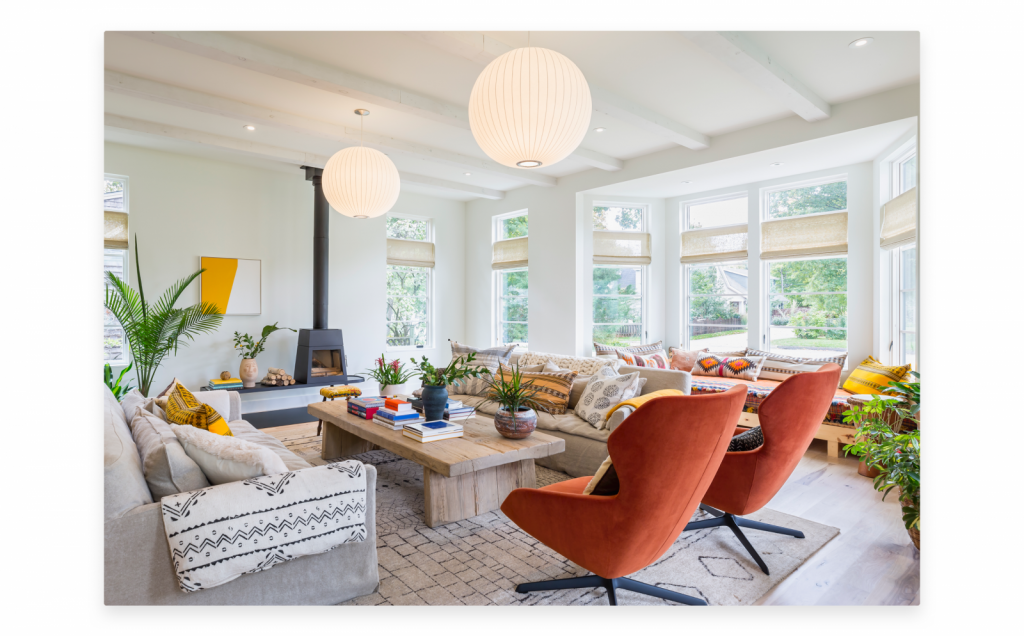
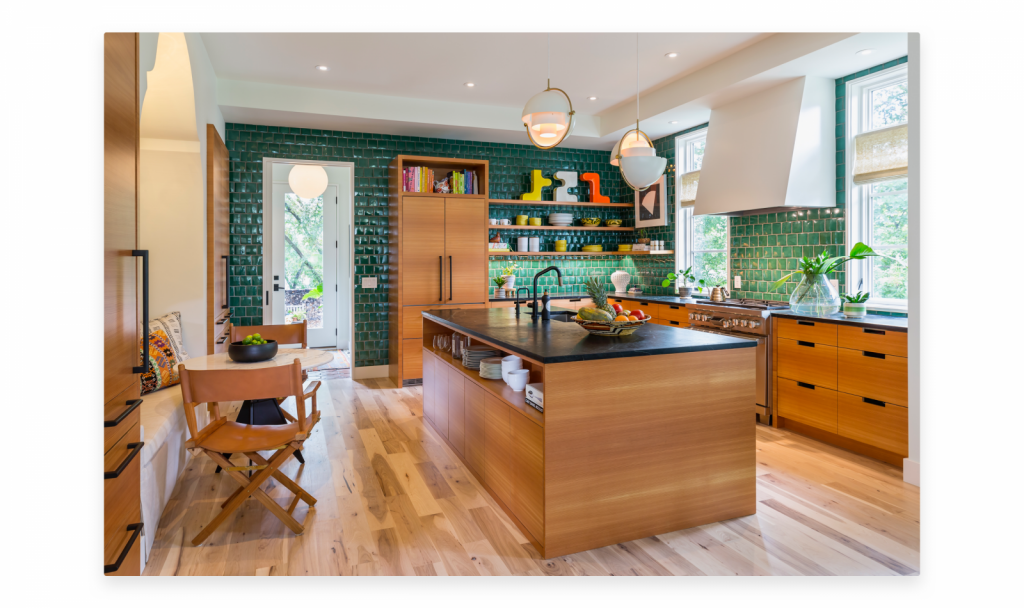
When staging a home, you don't want to overdo it. Stick to major furniture pieces like tables, beds and couches, and a few tasteful decorations. When deciding on a home, 40% of Gen Z buyers and 39% of millennials find it extremely or very important for it to be staged. Here are some tips:
- Make sure all towels in the bathroom match.
- Place a nice set of dishes on the kitchen table.
- Rearrange furniture to create an even flow.
- Add a few pillows to a couch, or place a rug in the living room or entryway.
- Set a bowl of fruit or a bouquet of flowers on the kitchen counter.
Reflect the season
In conjunction with staging, you can add little touches to the home to reflect the current season. Be careful not to add too much, as that may detract from the home's features or turn away buyers who don't celebrate certain holidays.
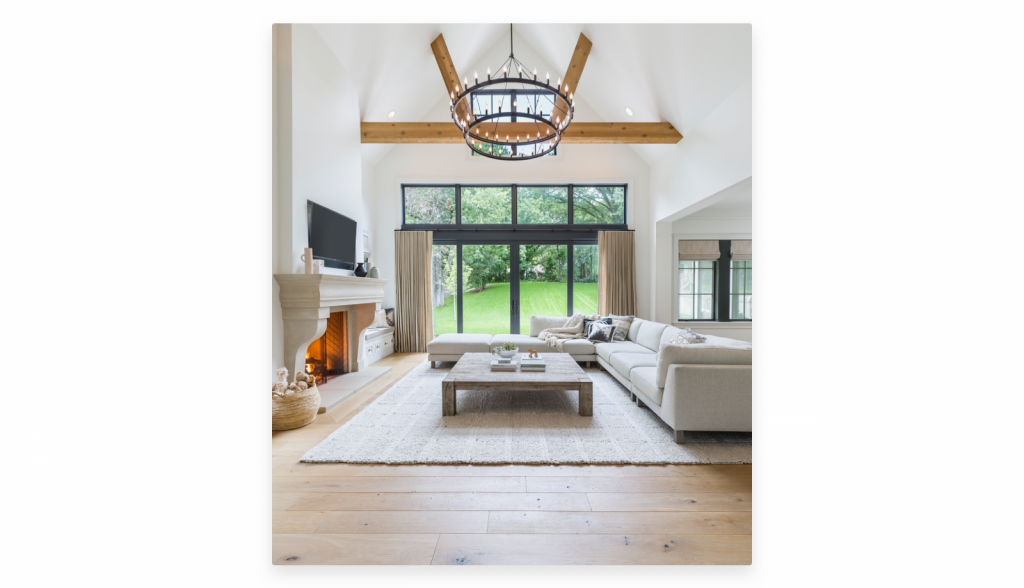
In winter: Turn on the fireplace, or take a photo of the home after a fresh snowfall.
In spring: Place seasonal, local flowers on the kitchen counter or outside the front door, and make sure to take pictures of a garden if the home has one.
In summer: Use natural sunlight to brighten your shots, and consider placing a pitcher of lemonade or bowl of seasonal fruit in the kitchen.
In fall: Take advantage of changing leaves outside, or consider adding small decorations that are colored like fall foliage.
5. Keep lighting consistent
Real estate photography lighting is crucial. Ideally, you want the lighting in each room to be consistent. Some things to consider:
Determine if the lights are better on or off. Turning on the lights can make a space feel warmer and more welcoming, but combining interior lights with natural light can affect a photo's white balance. On the other hand, using only natural light can provide an even temperature across your photos, but it can also make them feel cold if there's not enough light coming in through the windows.
Make sure all lightbulbs are the same. Varying light temperatures can make a room feel unbalanced. Make sure all lightbulbs are the same type (and in working order) before shooting real estate photos.
Only use a flash if you really need to. Pointing a flash directly at a space can create uneven light distribution and glare. See if you can turn the flash so it's pointing at the ceiling or a side wall to soften the glare and provide a more natural appearance.
Turn off the lamps. Just like a flash, lamps create an imbalance in a room's lighting. It's best to use other light sources when taking real estate photos.
Purchase a diffuser or umbrella flash stand. If you have a space where there's not much natural light, like a basement or interior room, a diffuser or light stand will let you control the direction of the light and ensure even distribution.
6. Make use of natural light
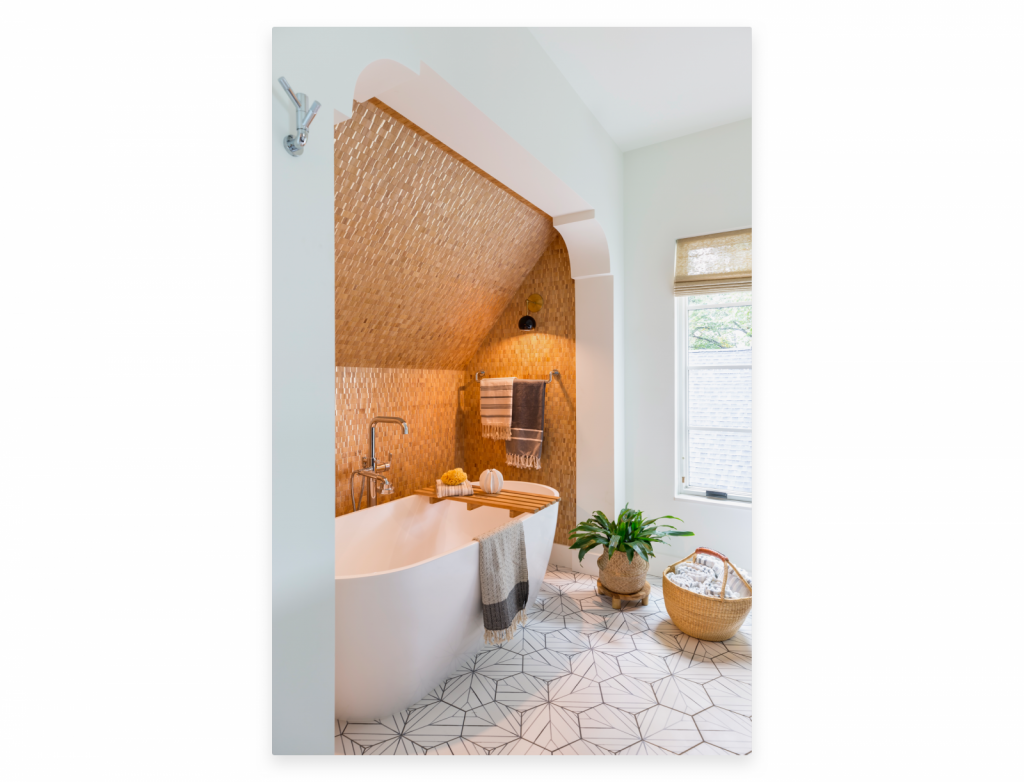
When it comes to real estate photography lighting, natural light can be a useful tool. When used strategically, it can often be better than ambient lighting.
- Open blinds and windows to let natural light into a home.
- Avoid shooting directly into bright windows, as doing so can make a space feel smaller and add glare.
- Use a wide-aperture setting so your camera lets in as much light as possible (if your camera has an adjustable F-stop, lower it to around f/1.8).
- Shoot with the sun behind the camera to brighten the home and avoid shadows.
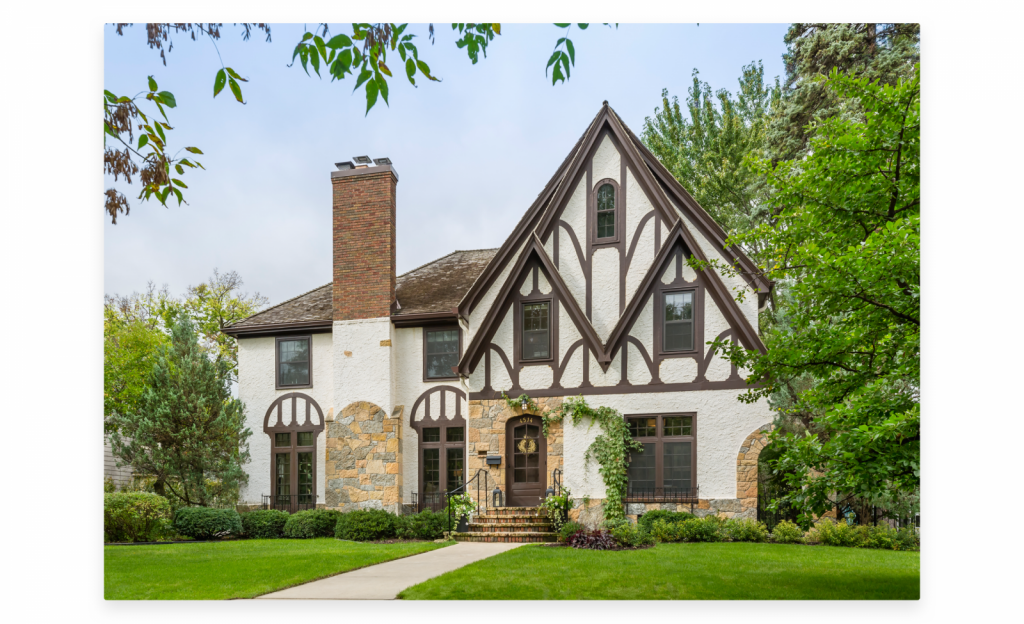
- Take exterior shots on overcast days to remove all shadows and help prevent glare.
- Avoid rainy days and nighttime shots — and any other conditions that can make a home appear gloomy.
7. Use a tripod
One of the easiest (yet most ignored) tips for real estate photography is to use a tripod. While a tripod is helpful in any situation, it's critical when taking interior shots using natural light, as natural lighting is best captured with a slow shutter speed. Get an adjustable tripod and you'll be able to eliminate blurry images.
8. Adjust your camera so edges are vertical
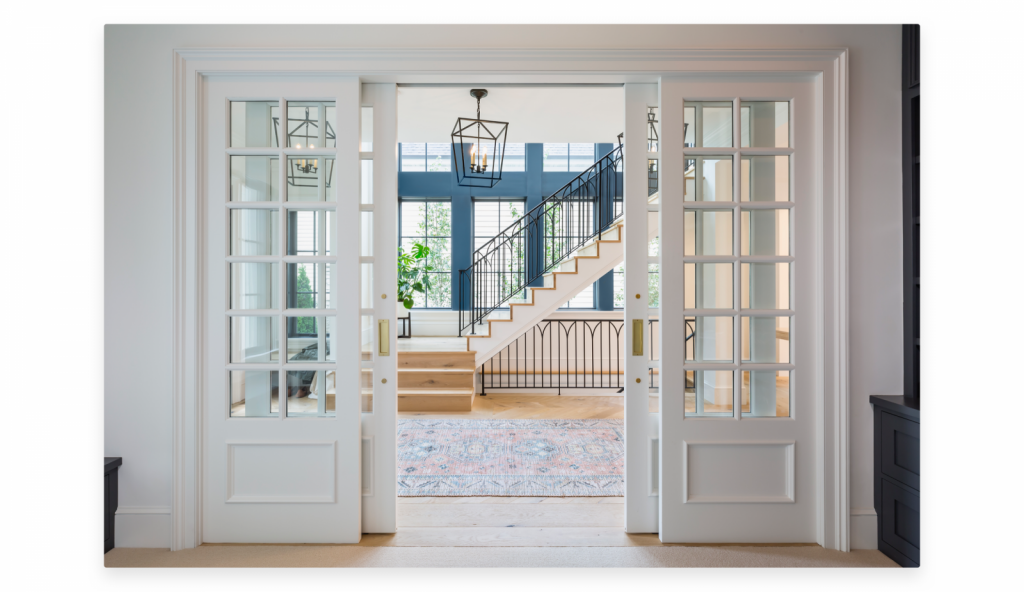
Wondering how to take real estate photos like a pro? Keep your camera's vertical axis lined up with walls and other vertical objects. In addition to eliminating blurry images, a tripod will hold a camera steady and can be adjusted for a perfect shot. Homes are filled with vertical lines, and you want to make sure they're perfectly up-and-down when shooting. Crooked images will appear out of place when buyers are browsing real estate listing photos.
9. Take several shots at different exposures
It can be challenging to get the perfect exposure when taking real estate photos, especially if you're trying to balance natural and artificial light. One way to deal with this is with a method called exposure bracketing, where you combine several of the same images taken at different exposures. Most photo editing programs have this capability. If not, you'll at least have different exposures to choose one image from, which means you won't have to go back and retake any bad shots.
10. Edit your photos, but don't misrepresent the home
If you have an editing program and the know-how, you can easily edit photos to appear warmer and more welcoming. Many computers even come with basic photo editing software, which may let you adjust brightness, contrast and other settings. Be careful not to misrepresent the home, as this will lead to upset buyers when they schedule a showing and don’t see what they expect. Things to avoid are:
- Using real estate stock photos
- Intentionally covering up a bad view
- Focusing on the artistry of the image to the point that you sacrifice accuracy
- Using a fisheye lens to make a space appear larger (it only distorts the image)
11. Post the 20 best photos to your listing
For a standard home around 1,900-2,600 square feet, 20 photos will give an accurate portrayal while allowing for multiple shots that focus on the property's best features. For a smaller one-bedroom home, 10 images may be plenty. Our real estate photography tips for shooting a whole property are:
- Two wide-angle shots of the kitchen, living room and each bedroom
- One photo of each bathroom, unless they're particularly large
- One to three photos of the backyard
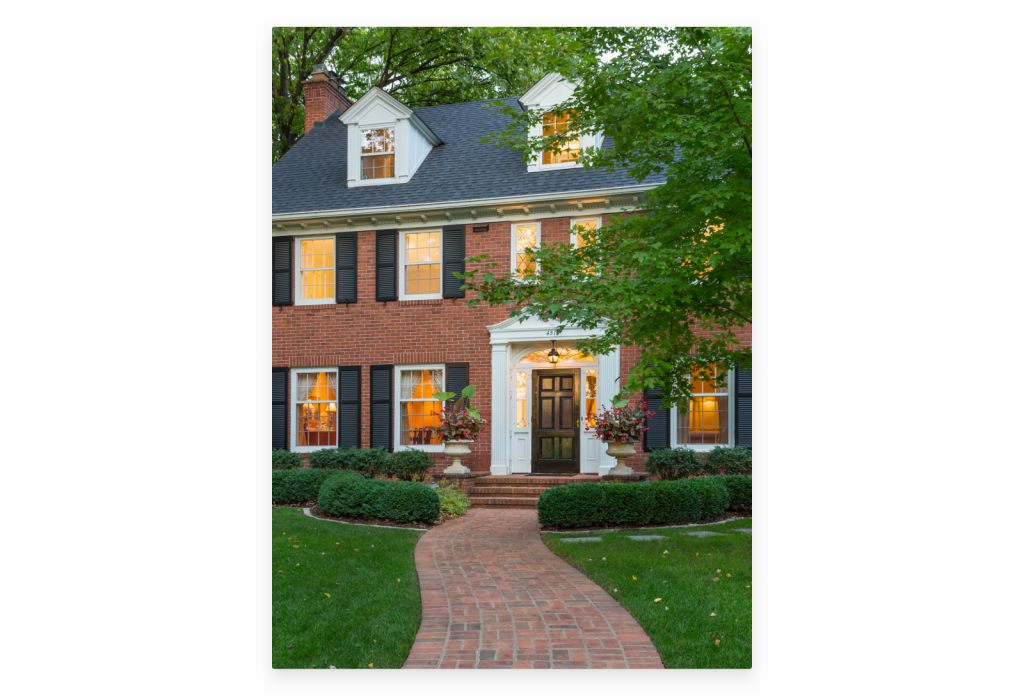
- One to two photos of the front of the home
- One shot of each additional room, such as the laundry room and garage
Too few photos may leave the buyer wondering why more isn't being shown or confuse them about the home's layout.
Too many photos can cause buyers to lose interest — if there are more than a couple shots of each room, they may quit browsing.
Remember to include a detailed and enticing real estate listing description to accompany the photos. As a Zillow Premier Agent, you can list properties for sale on the largest online real estate network on the web, with the most unique visitors in the U.S.* — and you'll be connected in real-time to active buyers and sellers.
12. Incorporate aerial photography
Your real estate listing photos aren't limited to hand-held shots. Consider using real estate aerial photography to capture unique views of the property and even the interior if the home has high ceilings.
Real estate aerial photography uses a drone to capture encompassing aerial views of the home and property, as well as the neighborhood and surrounding area.
13. Include virtual 3D Home tours
To stay ahead of the competition, you may also want to include a 3D Home tour or other virtual tour of the property so buyers can get a better idea of the layout and all the property's features. Tech-savvy millennial and Gen Z buyers in particular may find greater value than older generations in using video and live video or 3D Home tours to help them make decisions.
The Zillow 3D Home app lets you easily capture virtual tours for your listings using an iPhone. Even better, listings with 3D Home tours are labeled with unique tags to help them stand out to potential buyers.
When real estate listing photos are the first thing buyers see when searching for homes online, first impressions count, so invest in great photography. Buyers come for the photos — make sure they stay for the details.
This article was originally published on July 25, 2017.
*Comscore Media Metrix® Multi-Platform Key Measures, Real Estate, Total Audience, April 2019, U.S.
Tips for top-performing listings
Backed by new research, this guide reveals what today’s top listings do differently to capture buyer attention and outperform the rest.
Learn more