Shooting Videos Like a Pro: Top Tips from an Insider
Nancy Robbers
March 4, 2016
6 Minute Read
You’re ready to dive into creating video content for your business — home tours, client testimonials, neighborhood walks — but you might not know exactly how to begin. When the occasion doesn’t quite call for a professional videographer, what can you do to make your footage look like a million bucks?
Seattle-based filmmaker Erik Hecht’s passion is moving pictures, and he’s shot dozens of them for companies like Zillow, REI, MTV, Nike and the History Channel. With more than 10 years’ experience in photography and videography, Hecht has been there and done that when it comes to getting the best imagery.
Here are his top tips for shooting videos like a pro.
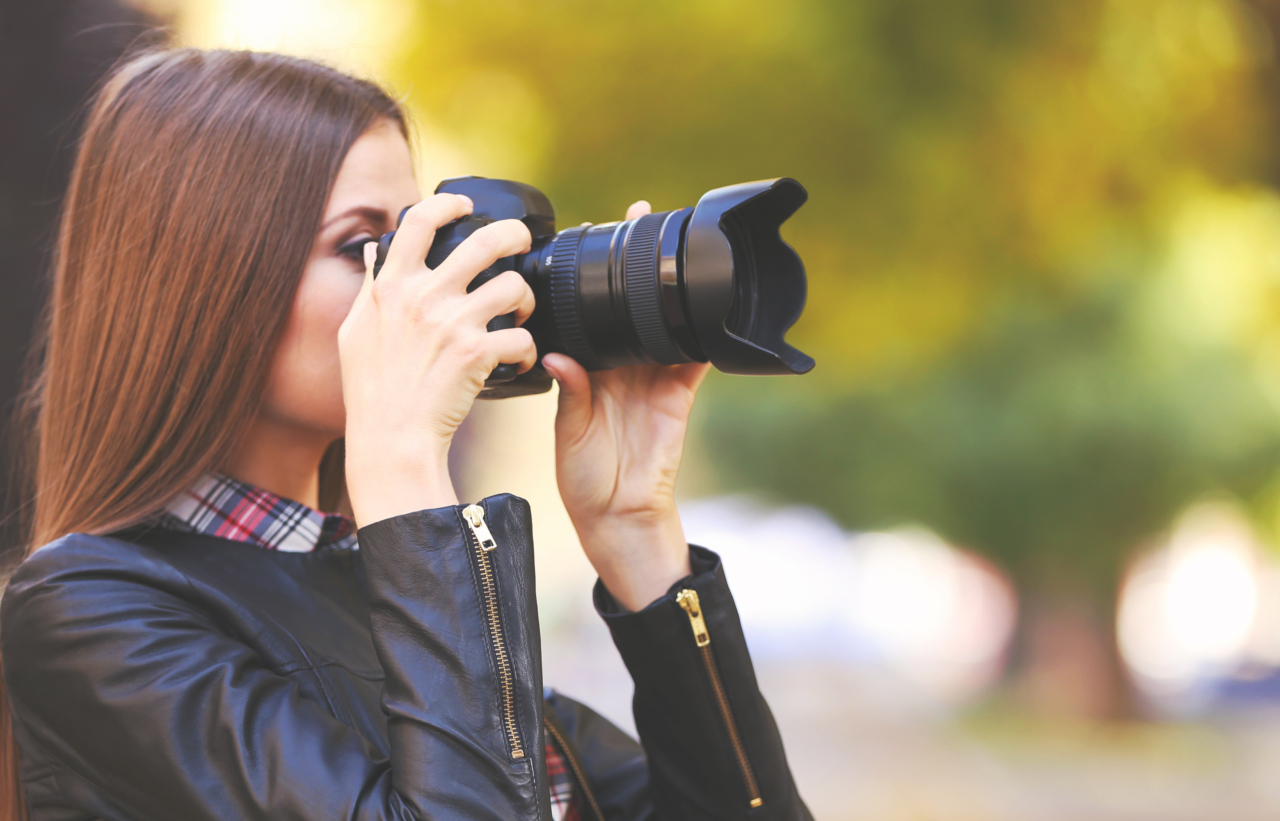
Go high-def digital
When you’re beyond using your smartphone for videos but not quite up to investing in a camcorder, look at digital single-lens reflex (DSLR) cameras; they also shoot still images, so DSLRs can double their value that way, too. Most DSLRs shoot high definition (HD) 1080p, but make sure the camera you select also includes an input for audio and a headphone jack. A tripod is a must-have accessory for any budding videographer.
Pro tip
Invest in a 10–20mm wide angle lens that you can interchange with other lenses on your DSLR camera. You’re not being deceptive by shooting a room with a wide angle lens — and you’re not distorting the image as you would with a fisheye lens — you’re capturing images that are closer in size to what your eye actually sees.
Compose the shot
Take time to plan what you want your video to look like. Hecht recommends thinking about what you want to include in your shots as much as what you don’t want to include. Your chosen shots are about balance: Don’t include footage just to fill the frame — capture a scene that complements the space.
Another tip for composing a high-quality video and keeping it interesting is to vary the types of shots you include. Use an establishing shot to open your video or give viewers a look at an entire scene. A medium shot can focus on a single subject or component, or it can be a tighter, cropped version of your establishing shot. To highlight a fine detail of a home feature or show a client’s face during a testimonial, use a close-up shot.
Movement is a vital part of videos, but while a camera can pan a shot, the effect is still rendered two-dimensionally. You can simultaneously add depth to your shots and give viewers the sense of immersion in the scene by sliding — moving the camera on a track to include objects that are closer to the lens as well as objects that are farther away.
“If you want to make interesting pictures, you have to move,” Hecht encouraged.
Pro tip
Use a slider dolly to amp up the production value of your video by giving life to an otherwise static image. A slider dolly is inexpensive and mounts on top of a tripod, so it’s easy to set up and move wherever you need it.
Wrangle the angle
Think about how to create a sense of flow in the story you’re telling, whether it’s a tour of a home, a video blog about your town or a client testimonial. Sometimes you won’t be able to obtain the ideal angle, so you will have to maximize what you’re framing in the shot. With interiors, put your back to the corner of a room and shoot with a wide angle lens.
It will help to visualize horizontal lines that take your viewer’s eyes on a journey. In a home tour, pick a focal point for each space, then use the lines of the wall, carpet edge or countertop to guide the eye and create depth. Think of the vanishing point in a still photo: The eye wants to follow a guiding line to the most important component of the image.
If a kitchen has interesting countertops, shoot them from an elevated angle. When you’re capturing a child’s room, consider shooting from a lower angle, as though from a child’s perspective.
When filming people, Hecht typically keeps the camera angle at the subject’s eye level but will adjust it a few inches up or down, depending on what is most flattering. Keep it simple with a tasteful background and minimal distractions like plants or desk clutter.
Pro tip
Never be afraid to move your camera. What you see in the display is what will go in your video. If your display isn’t interesting to you, it won’t be interesting to your viewers, so keep looking for the right angle.
Light it up, baby
Lighting might be the biggest challenge in shooting videos because it can make a subject glow from within or become lost in unflattering shadows. Hecht recommends that you open windows and blinds to use natural daylight instead of artificial light to illuminate your videos.
When possible, stick with one kind of lighting — either cool, natural daylight or warm artificial (Tungsten) light — so that your video looks evenly matched when you edit it later.
Lighting things from a straight-on angle allows you to see all the details, but the imagery is flat. Consider lighting from the side; by controlling the shadows, you can help define the shape of your subject, whether it’s a feature of the home or an entire room.
Pro tip
One of Hecht’s favorite lighting tricks is to supplement natural daylight by filling a nylon Chinese lantern with 85w CFL bulbs (daylight-balanced, 5500K) and then hanging them up or tucking them into a corner. They scatter cool bright light in every direction and won’t overheat as traditional incandescent bulbs can do.
Inside versus outside: What to know
As you organize your video shoot, keep in mind where the sun will be at different times and how it will affect the areas you plan to film. Depending on the time of day, you can successfully have the sun at your back for the best results.
“If you can, avoid relying on your DSLR’s auto settings,” Hecht instructed. “You want the camera to do what you want it to do.”
For example, remove the auto-exposure and set your own auto white balance; otherwise, as you move through the house, the camera will look for white and be thrown off by big swaths of color, making it hard to match up when you’re editing the footage later. If you’re comfortable doing so, Hecht recommends that you manually adjust the aperture (the size of the opening of your lens for light to pass) and ISO sensitivity (the camera’s ability to capture light) to the lowest settings you can.
Pro tip
If you don’t have a drone to take sweeping or overhead shots, use a slider or slider dolly to move your DSLR camera up and down to create vertical movement.
Improve your sound
Your camera’s on-board microphone is omni-directional, meaning it will pick up any sound in its proximity including unwanted noise. Hecht’s advice is to purchase an external microphone. A shotgun or directional microphone attaches to the top of the DSLR and picks up a much narrower area of sound.
Pro tip
A lavalier microphone provides excellent sound quality because it hangs around the neck and isolates the speaker’s voice better than other microphone styles.
You might not have the budget or the time to hire a professional videographer for every project, but it’s easier than you think to start creating upscale videos on your own. While you will need to make an investment in some standard equipment, you should put just as much thought and planning into your videos for the best results. Once you start shooting and publishing your videos, you’ll find plenty of topics to capture and audiences who want to watch them.
Zillow works for agents
We're here to support you and your clients on their journey home. Discover how we can help grow your business today.
Learn moreClose with confidence
Zillow Home Loans has a variety of financing options, a proven track record and top-rated loan officers* who support agents and buyers through every step of financing.
*Average 4.8/5.0 stars based on actual customer reviews. Zillow Home Loans, NMLS # 10287. Equal Housing Lender
Learn more