How to Add Board & Batten to Your Walls
Why settle for a boring hallway? Give it a chic touch — and extra storage! — with this DIY.

Written by Zillow on June 16, 2016
We love DIY projects that make a big impact in the way a home looks, and this one definitely fits the bill.
Adding board and batten to a boring, plain hallway adds some visual interest and a bit of vertical storage. This DIY will walk you through the process!
Because this project involves power tools, carpentry skills and math (seriously — it’s the hardest part for us!), we're bumping this project into the advanced category. But we firmly believe that anyone can learn how to tackle a DIY of this size.
Hopefully by the end of our tutorial, you'll be inspired to add board and batten to your home.
Supplies:
- Horizontal boards (we bought primed MDF measuring 1 inch by 3.5 inches by 8 feet)
- Vertical batten (we used pine lattice strips measuring 0.25 inch by 1.75 inches by 8 feet)
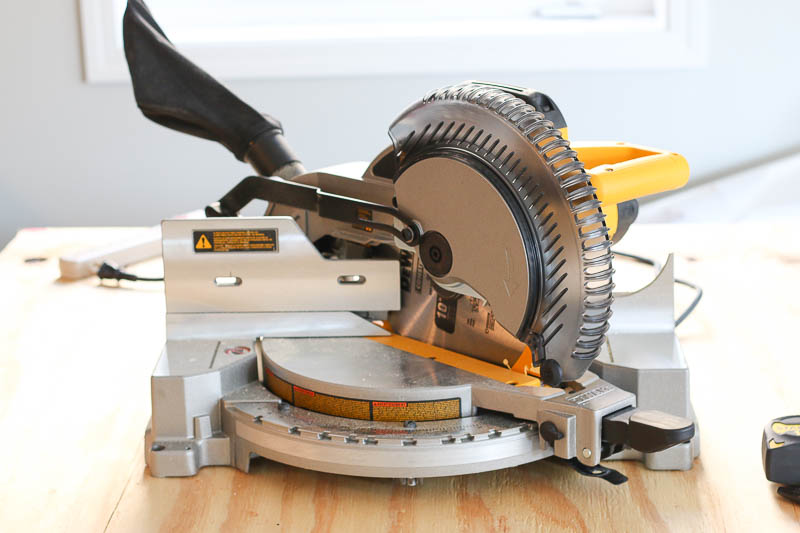
- Miter saw
- Nail gun
- Tape measure and pencil
- Level
- Liquid nails
- Caulk and caulk gun
- Painter's Putty
- Safety glasses
- Drop cloths
- Rags
- Sanding block
- Speed square
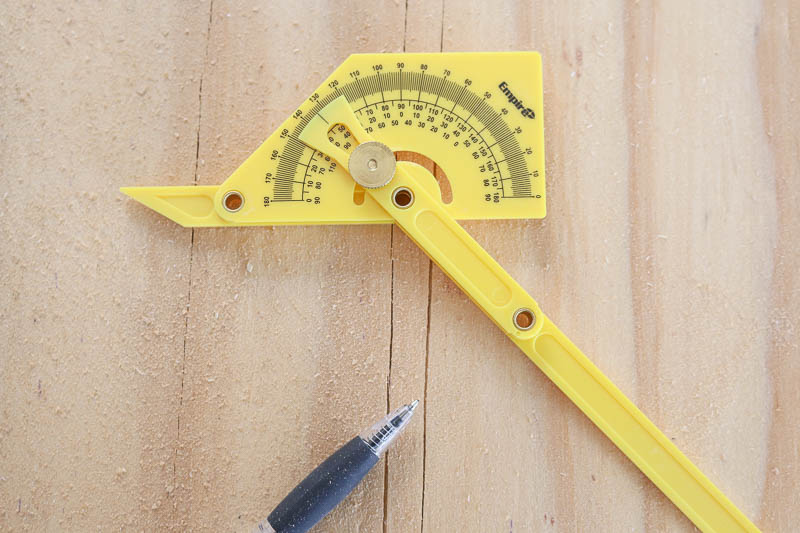
- Angle finder
- Primer
- Paint and stirrer
- Paintbrushes
- Painter's tape
- Paint roller and tray
- Coat hooks
- Drill
1. Plan your design, take measurements and gather supplies
The first thing you'll need to do is figure out exactly what you want to add to the wall. How thick do you want the wood to be? How many vertical battens are you hoping to add? Grab a piece of paper and a pencil, and get a little creative!
Try out a few different looks and visualize how it will function in your space. We went with two thick pieces of wood to lie horizontally and six thinner pieces for the verticals.
Once we knew the design, we were able to determine how much wood to buy. We recommend always buying extra wood, just in case you make a few mistakes when cutting.
Buy your wood about a week before you start your project, because te wood will need to acclimate to the humidity inside your home. You don't want to add it to the wall only to have it bend and buckle once it gets up there.
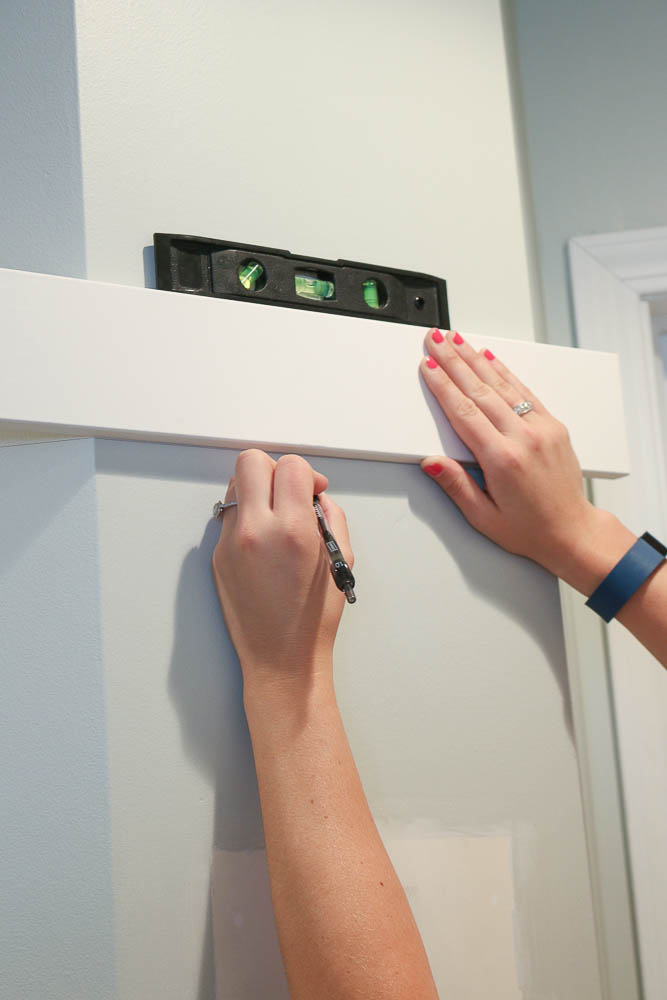
2. Measure, measure, measure!
As the old adage goes, measure twice cut once. Don't rush this step.
We suggest kicking off this project by drawing a level line across your wall to mark where you want your first board to go. Also measure the length of each section of wall and jot it down so that you can reference this measurement easily throughout the project.
Now, time for some math.
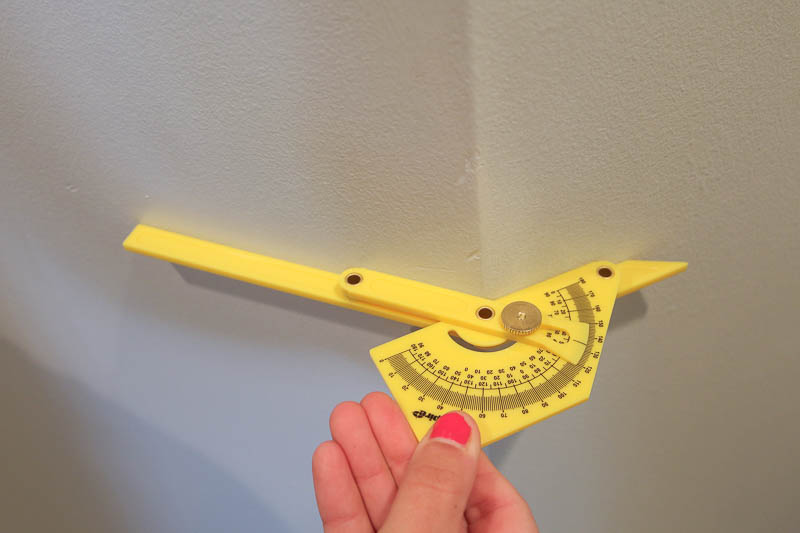
Because our wall curves around a corner, we needed to make a few angled cuts. So we grabbed our angle finder to determine the obtuse angle of the wall. It was 132 degrees.
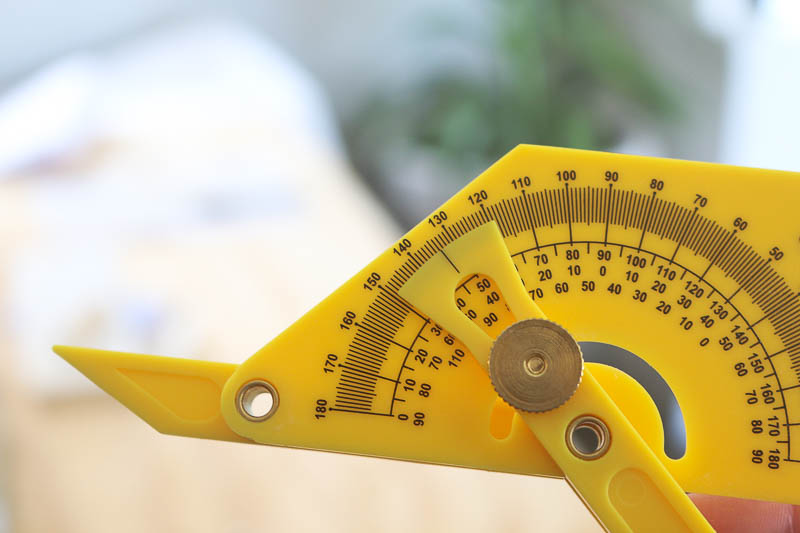
Now it's time to make your high school geometry teacher proud.
- A straight line is 180 degrees. So 180 - 132 = 48. That's the measurement of the outside angle of the wall.
- Because we're making two pieces of wood meet, we divided 48 by 2. 48/2 = 24, so our cuts needed to be 24 degrees each.
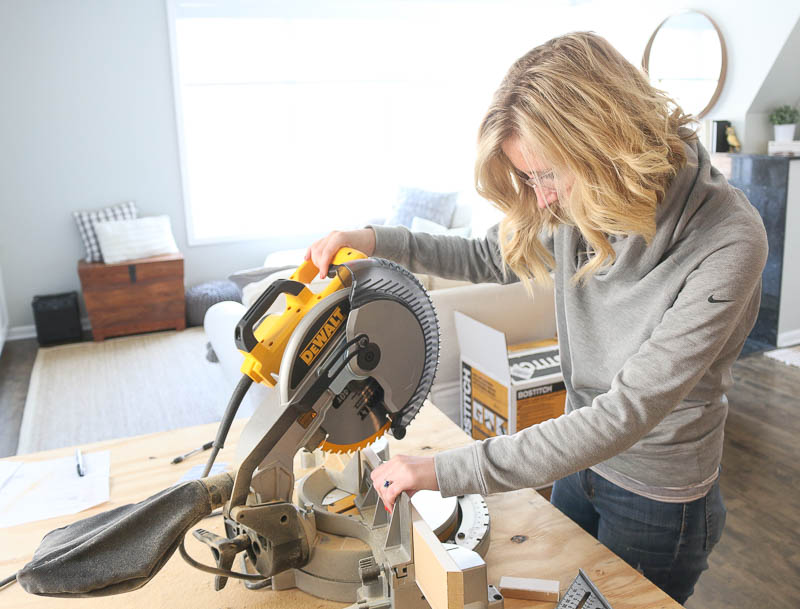
3. Make your first cuts
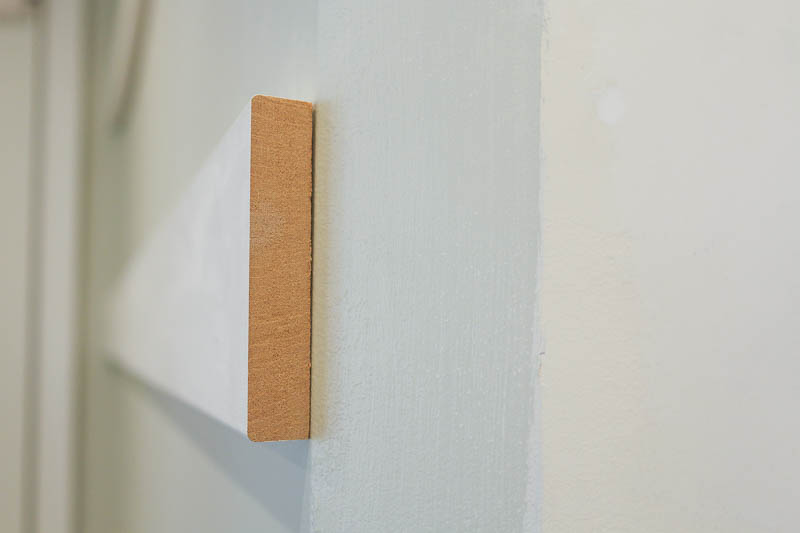
Armed with that number (24 degrees), we made our first cut on the saw.
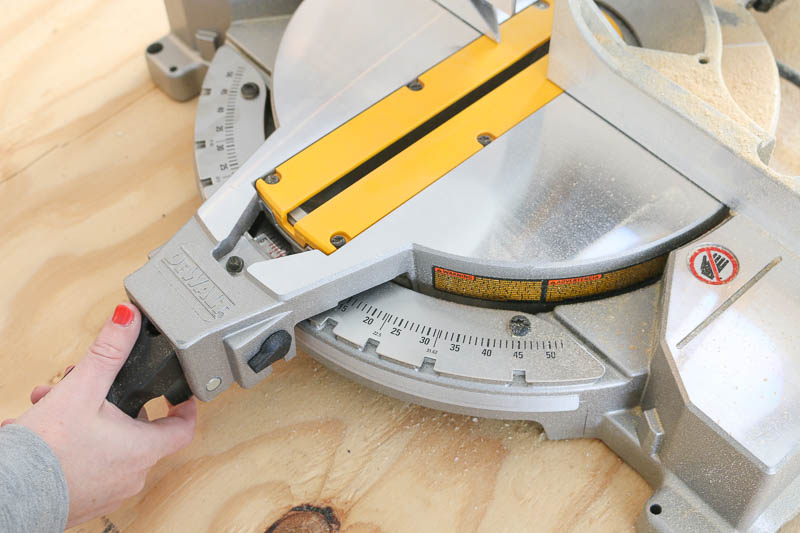
We turned our saw from a straight cut (90 degrees) to the angled cut (24 degrees).
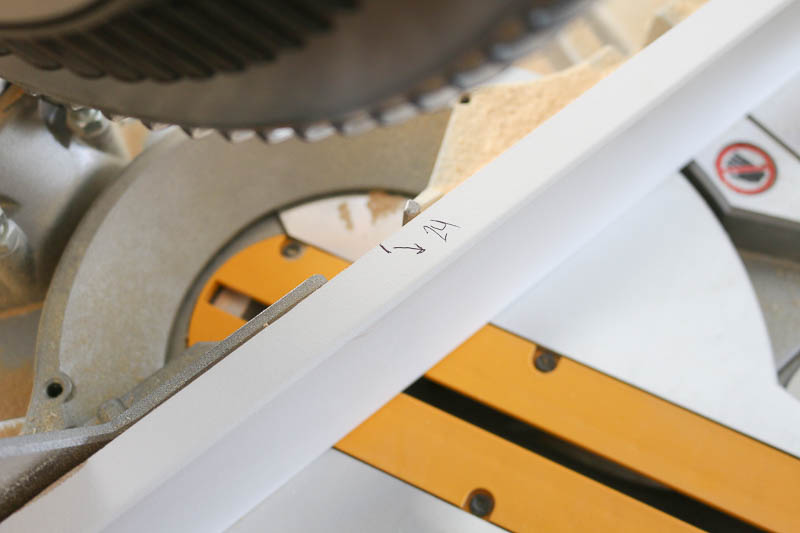
If you're a visual person (we both are!), then we suggest bringing the piece of wood up to the wall and drawing an arrow to illustrate the angle's direction. It will help keep you on track when you're going back and forth from the wall to the saw.
Make your cut on the saw. Our first piece had a straight cut on one side and our angled cut on the other.

Safety glasses are a must when it comes to cutting wood. Lots of shards and splinters will fly into the air, so keep your peepers safe!
With our first piece of wood cut, we measured and cut the remaining two pieces for the top row of horizontal wood. We suggest cutting these first and dry fitting them before adding them to the wall. If you glue and nail the wood up and accidentally make a mistake with the remaining pieces, you'll be in a bit of a pickle.
4. Glue and nail your top row
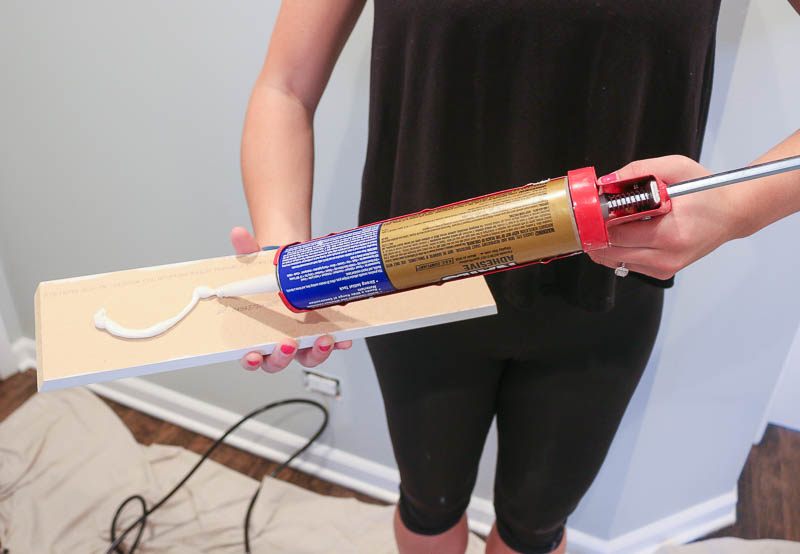
To make sure your wood stays securely on your wall, use a combination of nails and liquid glue on the wood. We like to add a thin line of liquid nails to the back of each piece of wood so it's even more secure on the wall.
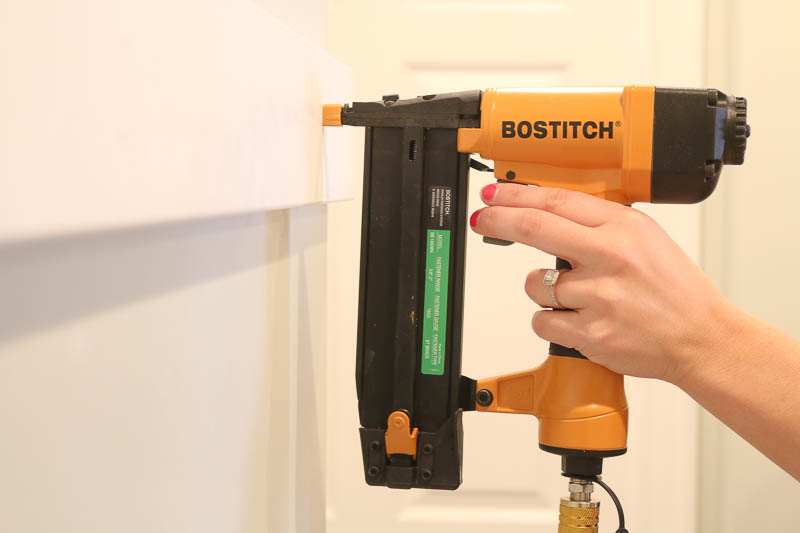
Then, making sure the wood is level, we nail the wood to the wall every 6 inches or so.
With one piece up, it was just a matter of lining up our next two pieces.
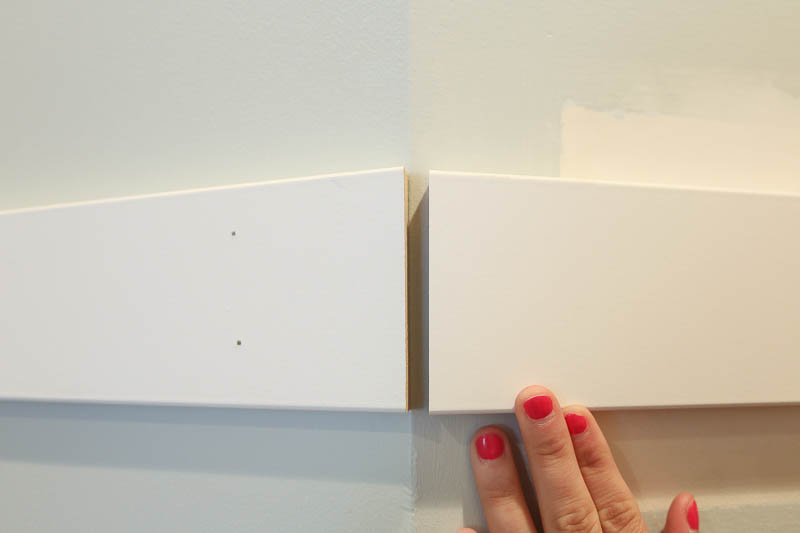
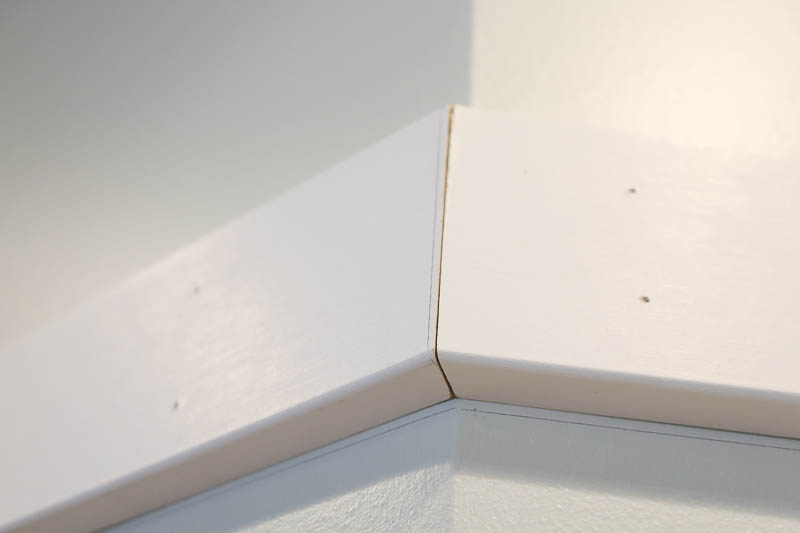
Remember how we made the cut on the first piece of wood on a 24-degree angle? To make the second piece of wood meet it, you'll need to cut the second piece at 24 degrees too — but turn the saw 24 degrees the other way.
Yes, this can be confusing! That's why we suggest bringing your piece of wood up to the wall and drawing that angle on there so you make your cut the correct way.
5. Repeat for the second horizontal row
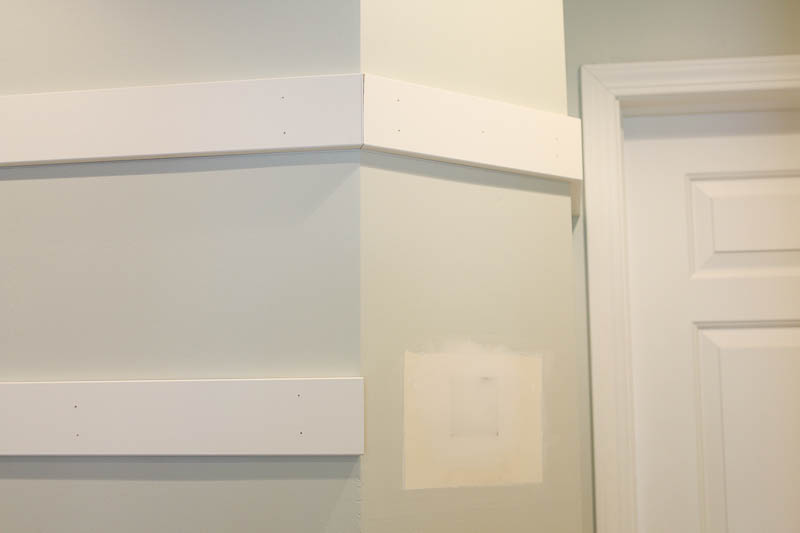
With one row officially up, the second row should be no problem at all.
Continue with the same steps to get those pieces of wood up on the wall. However, most walls are not perfectly straight, so measure each piece individually instead of cutting the exact same sizes from the first row. That goes for the angle too — it may be slightly different as well.
6. Add your vertical battens
Guess what? Things are getting a heck of a lot easier from here on out because there are no more angled cuts to make! All of the vertical battens are straight cuts, so you just need to measure the distance from your baseboard to right up under the second row.
Again, measure each piece individually. We say this because we made the mistake of cutting each vertical at the same length, and some ended up being too short, while others were too long. Measure and cut them one at a time so you don't waste any wood.
You may want to space your battens out so you avoid outlets on your wall. We moved ours around so we were just to the right or left of them, and therefore were able to avoid awkward vertical pieces on the wall.

Next, add more battens between the first and second rows of wood.
7. Putty, caulk and sand the wood
Hooray! The wood is up on the wall, and you can put away the nail gun and miter saw.
The nail gun will leave tiny holes in your wood, so to achieve a nice finish, you'll want to fill them up before you paint. Painter's Putty is a great way to hide those nail holes.
Simply ball up a bit of the putty and move it back and forth over the hole until it's filled. It's almost like you're using an eraser on the surface; the putty will make the hole disappear. This process is quick (about 10 minutes) and will make such a difference in creating a clean and professional look.
Once the putty is dry, lightly sand the surface of each board to ensure that all of the putty is removed from the surface. You don’t want it to create any unexpected imperfections on the painted surface.
Then follow up after sanding by wiping away all of the dust before starting to paint.

I hope you have some old clothing on, because this next step gets a bit messy. With your caulk gun locked and loaded, caulk all of the seams on the wall. If you have any big gaps between the wall and the wood, you can add extra caulk there. Just be sure to smooth it down and clean up any excess.
Put a thin line of caulk on the wall and follow it with a quick pass of your finger. Then, take a wet rag and wipe up any excess. This stuff is super messy, but it will cover all of the seams and make the wood look like it's on the wall perfectly.
8. Prime and paint
We're in the home stretch. It's priming and painting time.
Tape off any areas on the wall that won't be painted (e.g., outlets, the top portion of wall, side walls, etc.) and crack open that can of primer. We put one coat of primer on the entire wall. Note that it will not completely cover the wall, but that's OK. You just want to make sure you prime the entire wall.
Once the primer dries, grab your paint. We went with Valspar's Ultra White in an eggshell sheen.
Angled brushes and a small roller will be your best bet for painting. Two coats did the trick for us, but if you want more coverage, a third coat of paint might be in the cards for your space.
9. Add hooks
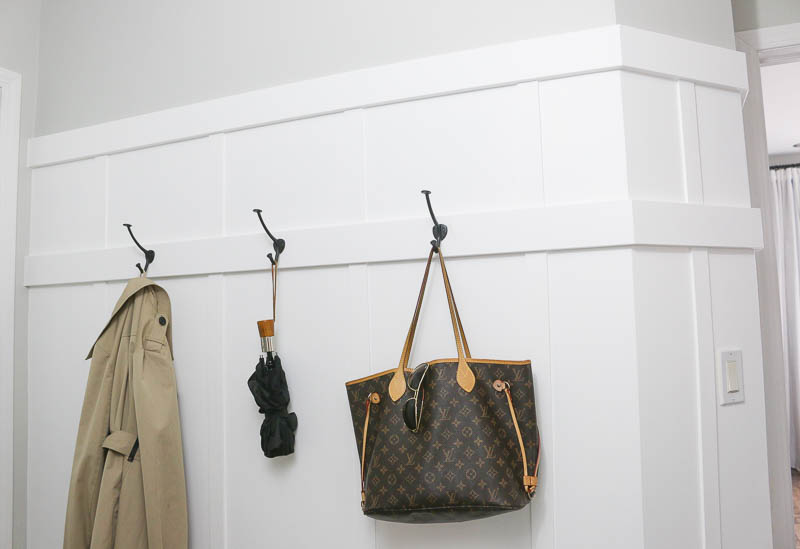
We didn’t want this wall to just look better than a plain one — we also wanted it to provide a little extra storage. Because this is right by an entrance to the home, we decided to add some coat hooks to hold jackets, purses and other belongings.
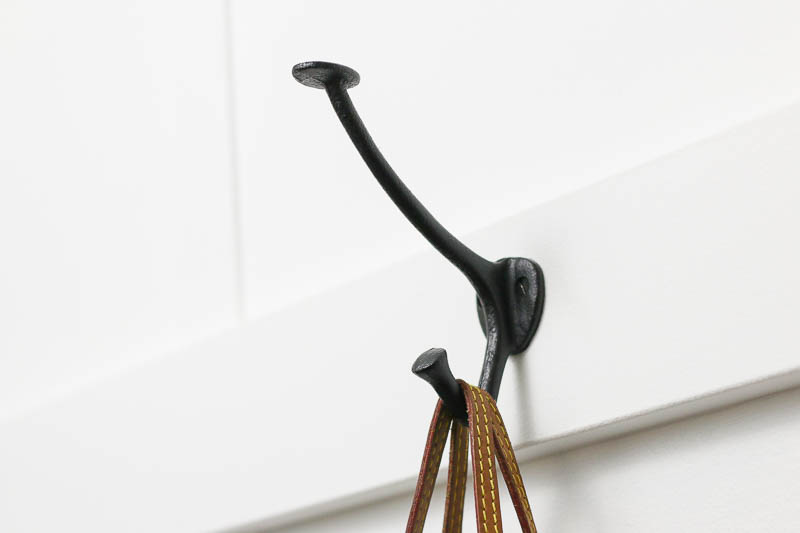
Making use of vertical space is a must for any small space, and these hooks add a bit of organization to a prominent place in the home. Just use a drill and secure the hooks directly into the wood.
And there you have it! Our very long but worthwhile tutorial on how to add board and batten to your walls.
A project like this will not only make your space look better but also give you the confidence to tackle even more DIY projects in your home. Good luck!
Related:
Tags
Ready for a new address?
Get an instant cash offer or list with a local partner agent.
Explore selling optionsRelated Articles


Sell your home with a winning strategy
Here’s how to maximize your home sale with the right selling plan.

Build a smart selling plan
Talk to your agent about their marketing approach - especially online - to ensure you’re getting the best possible price for your home.
